Would you drink from a dirty glass? Probably not. But if you’re using a water dispenser that hasn’t been cleaned in weeks, most probably you are drinking dirty water. That’s because bacteria, mold, and mineral deposits can grow inside and outside your water dispenser. Plus, it can affect your health and water quality. So, water dispenser sanitization is necessary to keep your water safe and fresh at home or work. This guide will help you understand the importance of regular dispenser cleaning. And show you how to do it the right way.
Why Water Dispenser Sanitization Is So Important
Water dispenser sanitization is actually a non-negotiable part of safe hydration, no matter where you are—home, office, school, or gym. Germs don’t care where the dispenser is because they grow fast in wet environments. For example, water tanks are always wet, so they are actually favorable breeding spots for bacteria, algae, and mold. Sometimes, your dispenser might look clean, but it can still have harmful germs you can’t see.
These microorganisms can make your water taste bad and might even be harmful to your health. Also, unclean water dispensers can start to smell bad. In order to solve this problem, regular water dispenser cleaning is required.
How Often Should You Sanitize Your Water Dispenser
For households and offices, it’s recommended to sanitize your dispenser every 6 to 8 weeks. However, you may need to clean more often if:
- The dispenser is used heavily
- It’s exposed to heat or sunlight
- You notice an off taste or smell
- There is visible slime or mold growth
Sticking to a regular sanitization schedule helps prevent big problems and keeps your water safe every day.
Step-by-Step Guide to Internal and External Cleaning
Internal and external cleaning of your water dispenser is actually not that complicated. Well, here is an easy step-by-step cleaning process:
- Unplug the unit and remove the water bottle.
- Drain all remaining water from the taps and tank.
- Mix a solution of one part white vinegar with three parts warm water. Then, pour the mixture into the tank.
- Let it sit for 10–15 minutes to break down mineral deposits and kill germs.
- Drain the tank and rinse it well with clean water several times.
- Use a soft cloth and disinfectant to clean the exterior surfaces, including the top and sides.
- Scrub the nozzles, taps, and drip tray with a small brush.
- And finally, let all parts air dry before installing a fresh water bottle.
By following these simple steps, you can make sure your system is clean, safe, and ready to use.
When to Call a Professional and Reliable Service
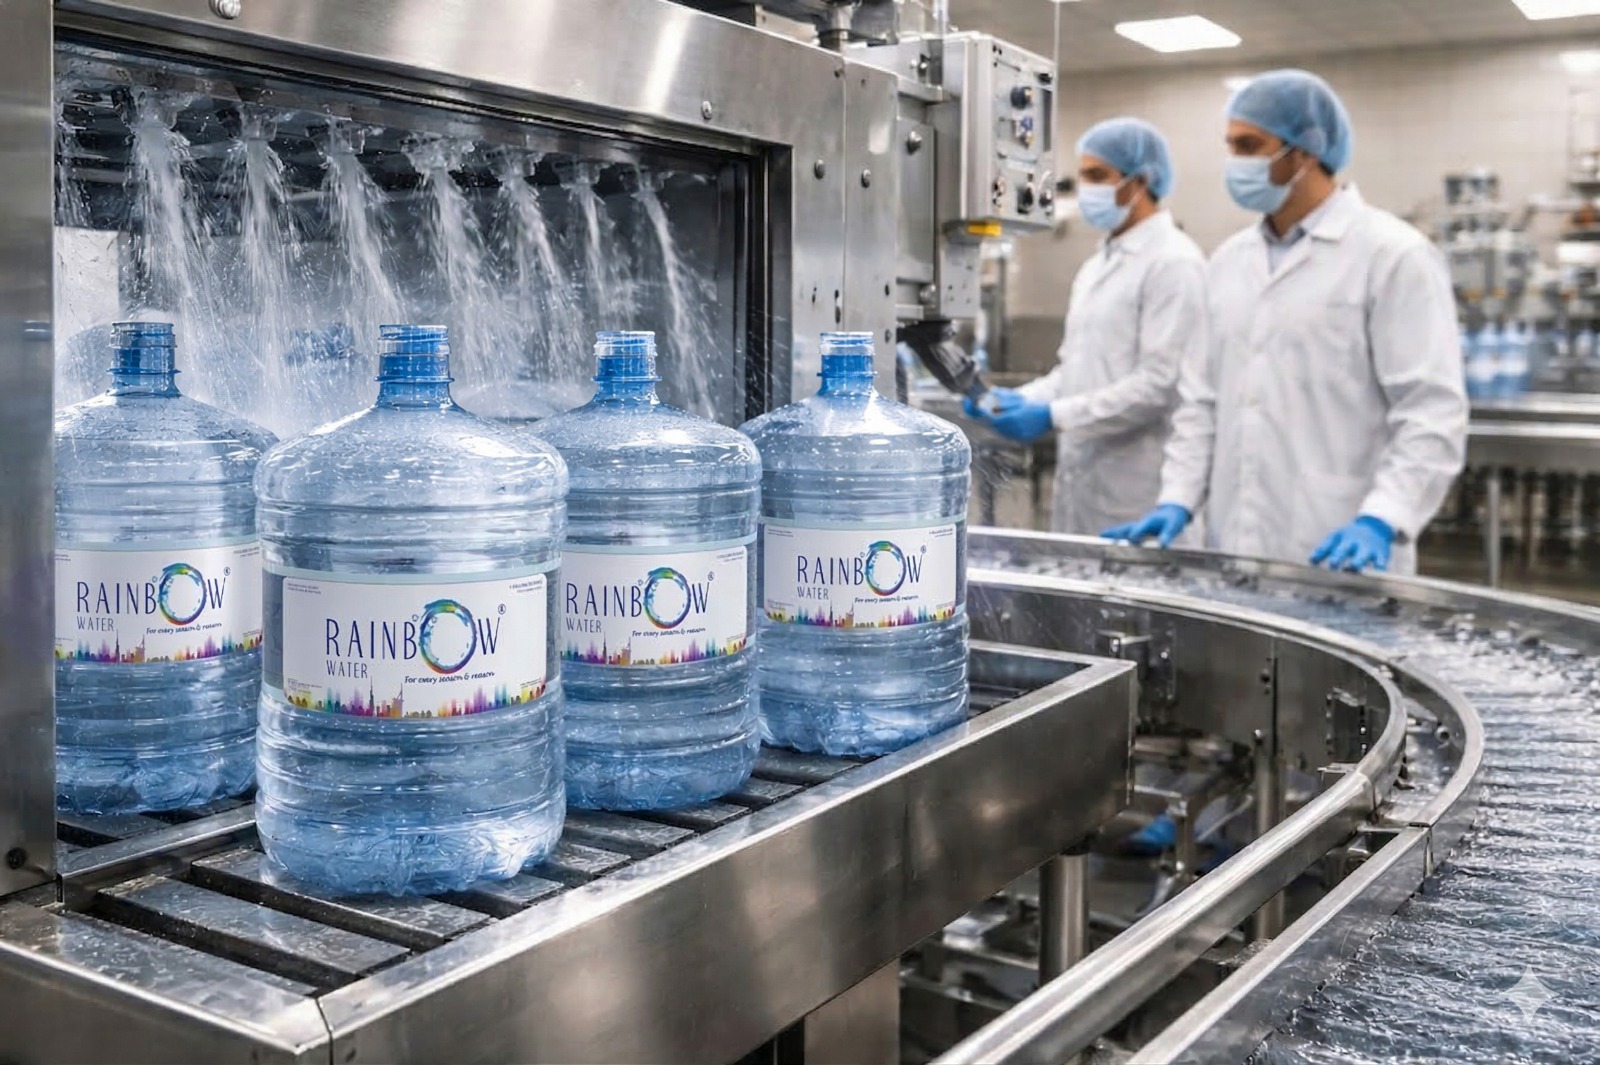
Suppose your water dispenser hasn’t been cleaned for months and has tough buildup, or you have several units in a business. In such cases, cleaning it yourself might not be enough. So that’s when you should consider hiring a professional and reliable service like Rainbow Water.
We actually give your unit a deep clean using food-safe disinfectants and proper tools. And we make sure everything is completely sanitized. Plus, our cleaning is quick, effective, and gives you the confidence to drink the water without any second thoughts.
Conclusion
Your water may come from a trusted source, but if your water dispenser isn’t clean, seriously, it won’t stay safe. So, water dispenser sanitization is one of the best ways to protect your health and improve your water quality. Whether you clean it yourself or get help from Rainbow Water’s experts, make sure to clean your water dispenser regularly. Honestly, a healthy drinking habit begins with clean equipment. So don’t wait until it starts to smell bad to clean it. Need expert help? Feel free to reach out to Rainbow Water and enjoy your water confidently with each drink.